Pesveoruntaispe
Start here. Really.
Which binding technique have you been putting off trying?
You have looked at a Coptic-bound journal with its elegant exposed spine and
thought: I could never do that. Or you have folded a single signature into a
pamphlet stitch and wondered whether there is something more structurally
interesting to try next. Both of those instincts point to the same thing — a
crafter who is ready to move forward but is not quite sure where to begin. This
page is the answer to that uncertainty. Every major hand bookbinding technique
is documented here: from the single-section pamphlet stitch that takes an
experienced hand about twenty minutes, through to the multi-section French link
stitch that rewards patience with a spine worth staring at. Each technique guide
explains the structure clearly before asking you to pick up a needle. It tells
you which materials suit it, which skill level it assumes, and where things are
most likely to go sideways — and how to recover when they do. You do not need a
studio, a formal background, or an expensive toolkit. You need a bone folder, a
decent length of waxed linen thread, and enough curiosity to work through the
first attempt even when it feels uncertain. That uncertainty, it turns out, is
exactly where the learning happens.
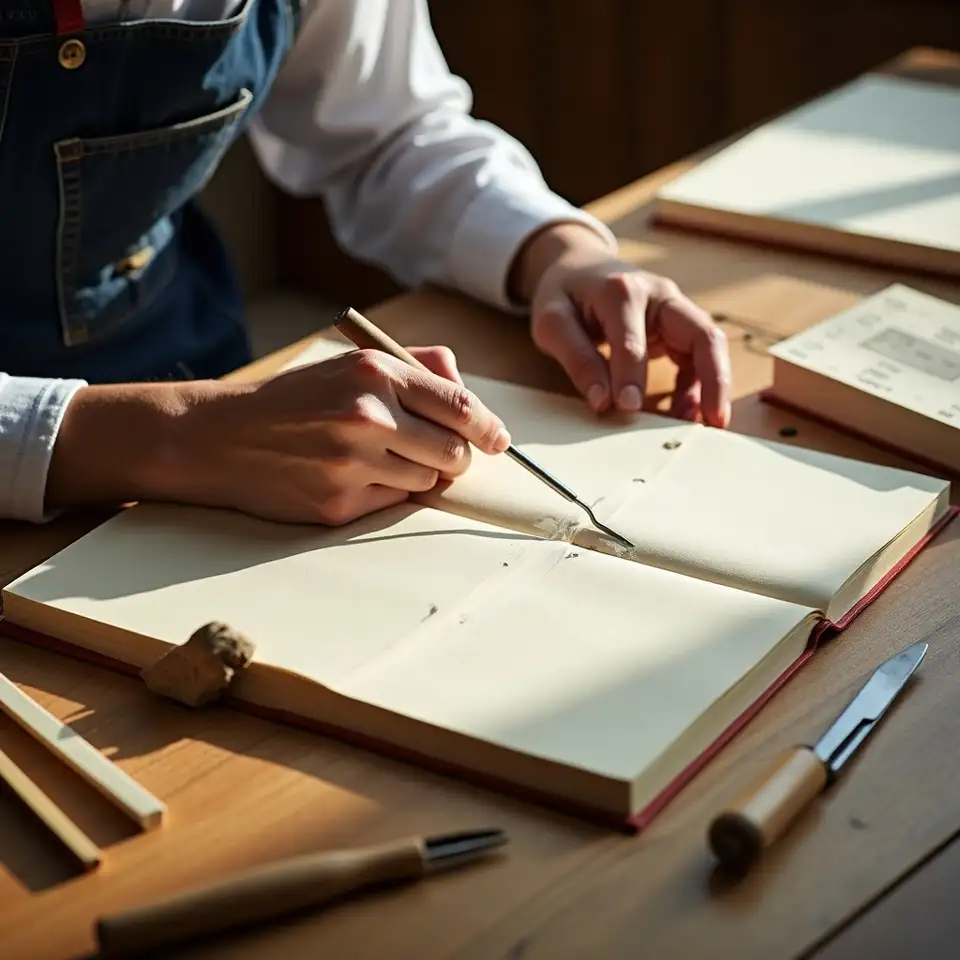
Six binding techniques worth understanding before you choose your next project
1
Coptic stitch — the exposed spine that started everything
Coptic stitch is the binding structure that most hand bookbinders eventually fall in
love with. It produces a journal that opens completely flat, requires no cover board
adhesive, and displays its linen thread spine as a deliberate design feature rather
than something to be hidden. The technique involves sewing multiple signatures
together in sequence, linking each to the one before it with a kettle stitch at both
the head and tail. It is moderately demanding — grain direction matters, hole
spacing matters, and consistent thread tension matters — but every one of those
constraints is learnable with a clear guide and a willingness to work through a
practice binding before committing to your best materials.
Learn Coptic stitch
2
Pamphlet stitch — the fastest way to make a real book
If you have never bound a book before, the pamphlet stitch is where to begin. It uses a single folded signature and three holes, produces a notebook that lies flat when open, and can be completed in under an hour by someone who has never held a bookbinding needle before. The simplicity of the structure is not a limitation — it is a feature. Once you understand how the thread travels through the holes and what it is doing structurally, you have the conceptual foundation for every more complex sewing pattern that follows. Many experienced bookbinders still make pamphlet-stitch notebooks regularly because the format is genuinely useful and the process is satisfying in its directness.
Try pamphlet stitch
3
Japanese stab binding — precision at the edge of the page
Japanese stab binding sews through the entire text block from front to back, rather
than through the fold of individual signatures. The result is a journal with a
rigid, beautifully patterned exposed spine and pages that do not open fully flat — a
characteristic that suits sketchbooks and reference notebooks rather than daily
writing journals. The sewing patterns available within stab binding range from a
simple four-hole pattern suitable for a first attempt, through to complex
tortoiseshell and hemp-leaf designs that take considerable time and precise hole
placement to execute correctly. Choosing the right needle, maintaining consistent
hole spacing, and selecting a cover board that is not so thick it splits under the
awl are the three most important variables to understand before you begin.
Explore stab binding
The general bookbinding process
1
Plan your structure and materials
Every binding decision made at the start of a project pays forward. Choose your paper weight and verify the grain runs parallel to the spine. Determine how many signatures you need for your target page count, accounting for the fact that each folded sheet produces four pages. Select your cover material and confirm your adhesive suits it. Sketch the structure if that helps you hold it in your mind. Twenty minutes of planning here saves an hour of confusion later, and it is the single habit that separates crafters who finish bindings consistently from those who abandon them mid-project.
2
Fold and collate your signatures
Folding is the most meditative part of bookbinding and the most consequential. A poorly folded signature produces a text block that never sits square, no matter how carefully you sew it. Score each fold line with a bone folder along a ruler before folding, work from the centre of the sheet outward, and burnish each fold firmly. Nest your folded sheets in groups of four to six, depending on paper weight — heavier papers need smaller signatures to avoid a swollen spine — and collate them in the correct order before you pick up the awl. Checking the grain direction of every sheet at this stage takes seconds and avoids the cracking that ruins an otherwise well-executed binding.
3
Mark and punch your sewing holes
Consistent hole placement is what separates a professional-looking binding from one that reveals itself as a first attempt. Create a paper jig — a strip of card marked with your hole positions — and use it to transfer identical marks to every signature and to your cover boards. Punch holes through folded signatures with an awl on a self-healing cutting mat, applying steady vertical pressure rather than a twisting motion that widens the hole unevenly. For structures with many holes, such as Japanese stab binding or a long stitch, work slowly and check alignment after every third or fourth signature before continuing. Correcting spacing errors at the punching stage costs minutes; correcting them during sewing costs the entire binding.
4
Sew the text block
Cut your thread to approximately three times the length of the spine before you begin — a common recommendation, though some structures require more. Wax the full length of thread before threading the needle by drawing it firmly across a block of beeswax two or three times. Begin sewing from the inside of the first signature and follow the sewing pattern specific to your chosen technique, maintaining consistent thread tension throughout. Too loose and the binding will feel sloppy; too tight and the paper will pucker around the holes and potentially tear under stress. Tie off each knot firmly against the previous stitch rather than against the paper, and trim thread ends to approximately five millimetres after the final knot is secured.
5
Attach and finish the cover
How the cover is attached depends entirely on the binding structure. Coptic stitch binds directly through the cover boards during sewing. Case binding involves gluing a completed text block into a separately constructed case. Long stitch sews through slots cut directly into the cover. Whatever the method, allow every adhesive application to dry completely under weight before proceeding to the next step — the most common finishing mistake is moving too quickly between stages. Press the finished journal under a stack of heavy books overnight before trimming any uneven page edges. The result, when you open it the following morning, is worth every minute of careful attention that preceded it.
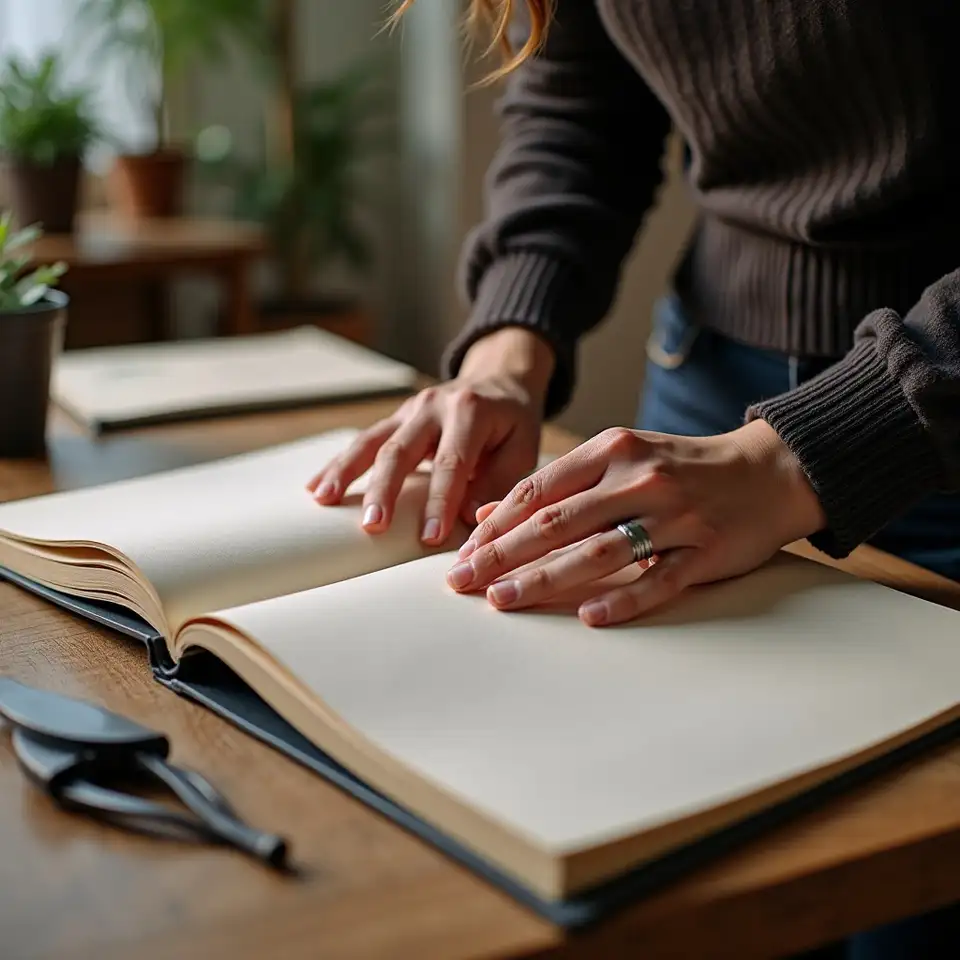
Practical tips for better bindings every time
1
Wax your thread before you thread the needle, not after
Drawing thread across a beeswax block after cutting it to length is a habit worth building from your very first binding. Waxed thread passes through punched holes with far less resistance, resists tangling, and holds knots more securely than unwaxed thread. Run the full length firmly across the wax two or three times and then smooth it between your fingers to work the wax into the fibres.
2
Test grain direction on every sheet before you fold a single page
Fold a small corner of any paper you are about to use and feel which direction offers
less resistance. That is the grain. Every sheet in your text block, every piece of cover
board, and every endpaper should have its grain running parallel to the spine. Cutting
or folding against the grain produces a journal that fights every attempt to open it
flat and cracks at the fold within months of regular use.
3
Use a bone folder for every fold — your fingernail is not a substitute
A bone folder applies even pressure along the full length of a fold line in a single
smooth stroke. A fingernail applies uneven pressure at a point, often creasing the paper
surface and leaving an indentation that remains visible in the finished journal. Bone
folders cost very little, last indefinitely, and produce measurably cleaner folds than
any alternative. Buy one before your first project and keep it within reach for every
project that follows.
4
Allow PVA adhesive to become tacky before pressing materials together
Applying PVA and immediately pressing cover cloth or decorative paper against the board is one of the most common mistakes in case binding. Wet PVA has very little grip and allows the covering material to slide out of position under the pressure of smoothing. Waiting thirty to sixty seconds after application — until the adhesive surface becomes slightly tacky — gives you a much more controlled application with less likelihood of air bubbles or misalignment.
5
Press every finished binding under weight overnight before final trimming
The temptation to open a freshly completed journal and admire it is understandable. Resist it for at least several hours, and ideally until the following morning. Adhesives need time to cure completely, and cover boards that appear flat immediately after completion can develop a warp as moisture from the adhesive is absorbed unevenly. A stack of heavy books distributed evenly across both covers overnight produces a result that lies flat reliably for the life of the journal.
6
Keep a scrap paper practice signature beside every new project
When attempting a sewing pattern for the first time, work through the full sequence on a practice signature made from scrap paper before touching your actual project materials. This applies even to experienced bookbinders working with an unfamiliar structure. The practice run reveals where the thread path is counterintuitive, where the tension is likely to cause problems, and where hole spacing needs adjustment — all at zero cost to your good paper or your time.
Common questions
Bookbinding techniques explained
From how long a first binding takes to which technique suits a complete beginner, these
are the questions that arrive most often from crafters at every stage of the learning
process.
The pamphlet stitch is the most appropriate starting point for anyone who
has never bound a book before. It uses a single folded signature, three
sewing holes, and a straightforward thread path that can be completed in
under an hour. The structure teaches you the fundamental relationship
between the needle, thread, and paper hole without requiring you to manage
the complexity of multiple signatures or a separately constructed cover.
Once you have completed two or three pamphlet stitch notebooks, the
conceptual foundations for more complex structures — Coptic stitch, long
stitch, Japanese stab binding — become considerably easier to absorb.
A simple pamphlet stitch notebook can be completed in under an hour by a
first-time bookbinder working from clear instructions. A multi-section
Coptic stitch journal with a covered board typically takes between three and
five hours spread across two or three sessions, depending on page count and
the crafter's familiarity with the technique. Japanese stab binding with
a complex sewing pattern can take a full afternoon for an intermediate
bookbinder. The honest answer is that most binding structures take longer
the first time than subsequent repetitions of the same pattern — and that
the time investment is precisely what makes the finished object feel worth
keeping.
No. The tools required for a first pamphlet stitch binding are a bone
folder, a bookbinding needle, an awl, a cutting mat, a metal ruler, a craft
knife, and waxed linen thread. Most of these items cost very little
individually and are available from Australian art supply shops. A bone
folder is the one tool worth prioritising, as it produces cleaner folds than
any improvised substitute. Binder's board and book cloth become relevant
once you move to case binding, but neither is necessary for the first
several binding structures you are likely to attempt.
Both are multi-section binding structures that produce journals with exposed spines, but they differ significantly in construction and appearance. Coptic stitch sews multiple signatures together sequentially, linking each to the previous one through a kettle stitch at the head and tail. The spine displays the thread as a series of chain links running between signatures. Long stitch sews through slots cut into the cover boards themselves, with the thread travelling visibly along the outside of the spine between each sewing station. Long stitch produces a slightly more dramatic visual effect and does not require the signatures to be linked to each other — the cover provides the structural connection instead.
No. Japanese stab binding sews through the full thickness of the text block from front to back, which means the pages cannot flex fully open at the spine. The journal will open to approximately one hundred and eighty degrees at the page edges but retains a small closed margin at the bound edge. This is an inherent characteristic of the structure, not a defect. It suits sketchbooks, reference notebooks, and journals where the bound edge is not the primary writing or drawing surface. Crafters who require a journal that opens completely flat should choose Coptic stitch, long stitch, or a French link stitch structure instead.
French link stitch is a multi-section binding that links signatures together
with an interlocking thread pattern visible on the outside of the spine. It
produces a very strong text block and a decorative spine without requiring a
hard cover, though one can be added. It is considered an intermediate to
advanced technique — more demanding than Coptic stitch because the linking
thread path is less intuitive and errors compound more quickly across
multiple signatures. Crafters who have completed several Coptic stitch
bindings and feel comfortable managing thread tension across a long sewing
sequence are well positioned to attempt a French link stitch as their next
project.
Cover warping almost always results from one of three causes: adhesive applied too thickly, the covering material or endpaper having a different moisture absorption rate than the board, or the board being pressed for insufficient time after application. To fix a warped cover, lightly dampen the concave face of the board with a barely moist sponge, then press it firmly under substantial weight — a stack of heavy books distributed evenly across the surface — for at least twelve hours. Prevention is more reliable than correction: always line both sides of a cover board with materials of similar weight and moisture absorption, and always press finished covers overnight before considering the binding complete.
Thread tangling during sewing is almost always caused by working with thread that is too long, thread that has not been waxed, or a combination of both. Cut your thread to no more than three times the spine length for most structures — longer thread has more opportunity to loop and catch on itself during the repeated in-and-out motion of sewing. Wax the full length of thread before you begin by drawing it firmly across a block of beeswax two or three times, then smooth it between your fingers. If tangling persists despite these adjustments, allow the needle to hang freely and spin for a moment every few stitches, which releases the accumulated twist that builds up during sewing.
Still have a technique question?
The Pesveoruntaispe team reads every message and genuinely enjoys answering specific bookbinding questions. If a technique is not covered in the guides above or something in a tutorial is unclear, reach out directly.
- CA
- TR
- PS
4.9 Rated by community makers
Ready to pick a technique and make your first journal with it?
Every technique on this site comes with a full step-by-step guide, material
recommendations, and honest notes about where things are most likely to go wrong. Choose
one that matches your current skill level and start today.
Your next binding is waiting
The Pesveoruntaispe community includes makers who attempted their first pamphlet stitch last week and makers who have been sewing Coptic bindings for years. Both kinds belong here. Both kinds improve with every binding they complete. The only difference between where you are now and where you want to be is the number of times you have threaded a needle and worked through the uncertainty of a new structure. Ready to add one more to that count?
Join a workshop
Community
2,400+ journals
Made by hand, one stitch at a time
Choosing a technique you are genuinely curious about — rather than the one that seems safest — is almost always the decision that produces the most satisfying result. Curiosity is the most reliable guide you have.
Browse the technique guides, pick a binding structure that suits your current skill level, and reach out to the community when you have questions or something worth sharing.